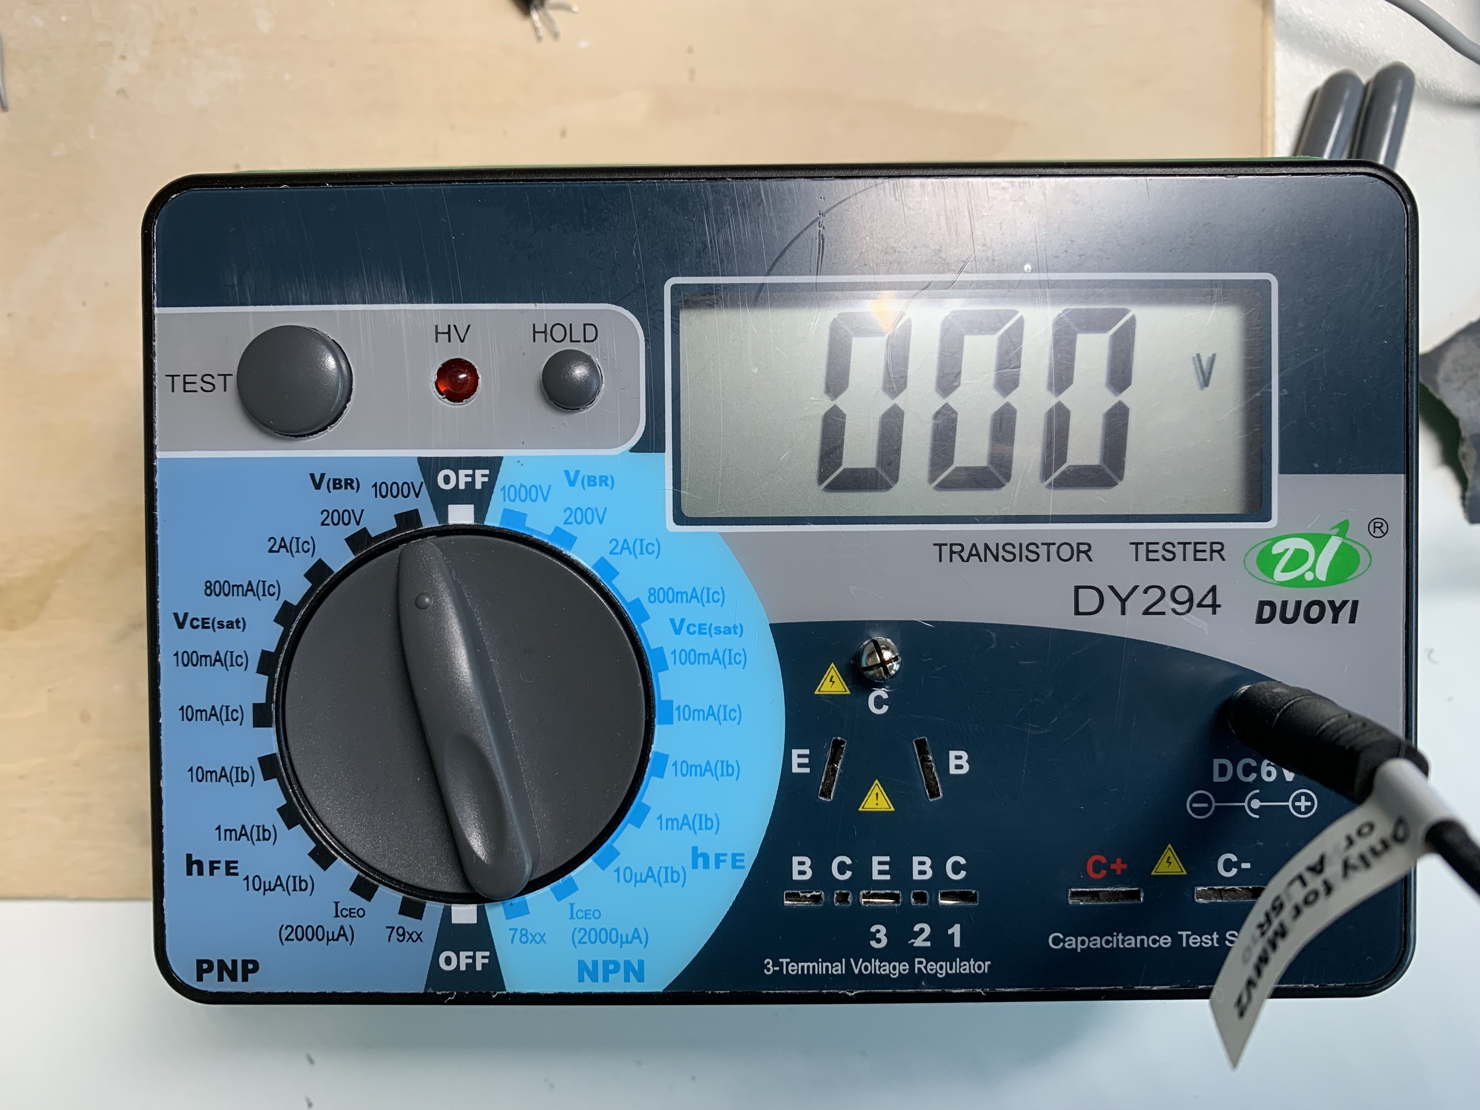
When it comes to simple measurements and checks for transistors or FETs, using a cheap tester that costs only 10 Eur can be good. However, especially when you want to measure the breakdown voltage (to distinguish fake discontinued products, for example), you’ll find yourself wanting a proper semiconductor tester. The most affordable and feature-rich option at a level where these machines are usable is this thing called Duoyi DY294. on AliExpress, it’s reasonably priced. It can be powered by four AA batteries or an external 6V power supply. However, be cautious, as the power terminal lacks any protection such as over voltage or reverse polarity. So, if you absentmindedly connect an old 6V adapter, thinking, ‘I don’t have a 6V adapter… Oh, wait, this ancient SONY radio adapter happens to be 6V, lucky!’ and connect it, if the outside is positive, it dies instantly. Mines has dead actually. A purchase of several tens of euros turned into a paperweight by my careless mistake.

A few tens of euros hurt my pocket a bit. Of course I wanted to fix it. However, despite this machine being popular in the DIY community in US or in Europe, there is very little information about its internal structure. After scouring the web tirelessly, I finally stumbled upon this site. This person, Jestine Yong, is amazing. I read he accidentally had killed the logic IC while repairing it, and I thought, ‘It’s a dead end.’ But then, he identified and replaced the logic IC under the seal, bringing it back to life. All for the sake of a few tens of euros. I mean, wouldn’t it be better to just buy a new one at this point? I think Jestine himself might have considered that, but the fact that he completed it out of technical interest is remarkable.
According to this person, the component that usually breaks first due to overvoltage, etc., is not the logic IC but rather this Tr Q1. I might not be motivated enough to replace a logic IC myself, but I could manage with just one Tr, I suppose.
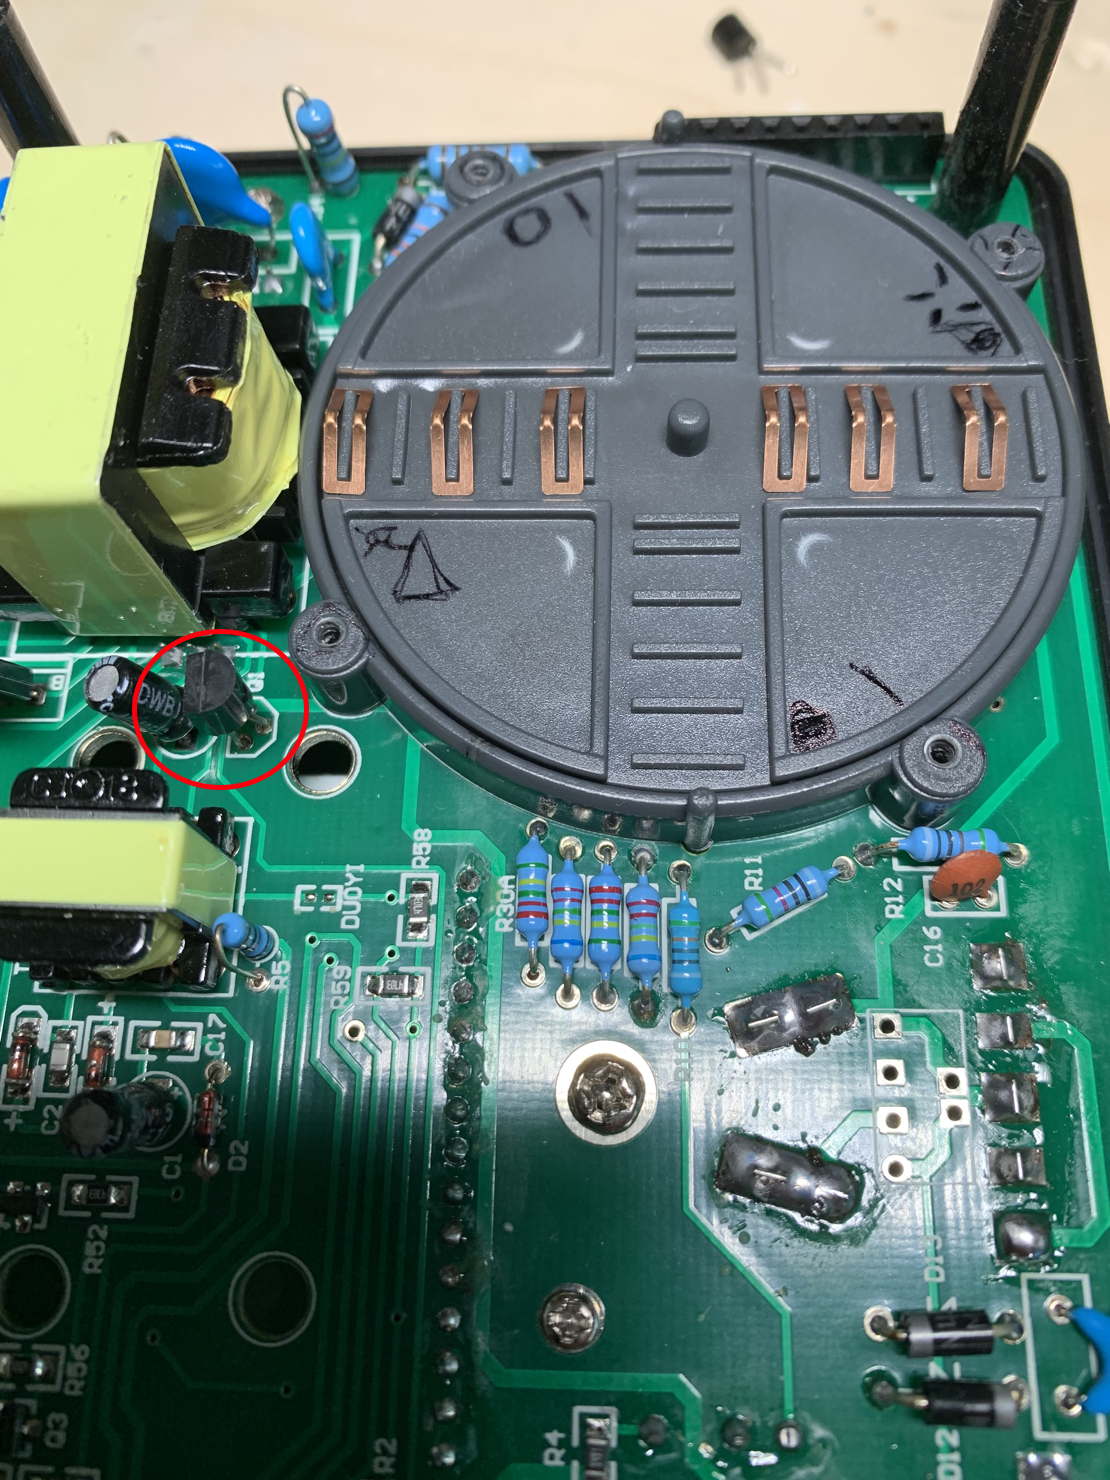
What’s being used here is this one, C9013, not a common one at first glance. Since ’Master’ Jestine had some failures and retries with a similar-spec Tr, I decide to confidently buy C9013 on eBay. It’s cheap.
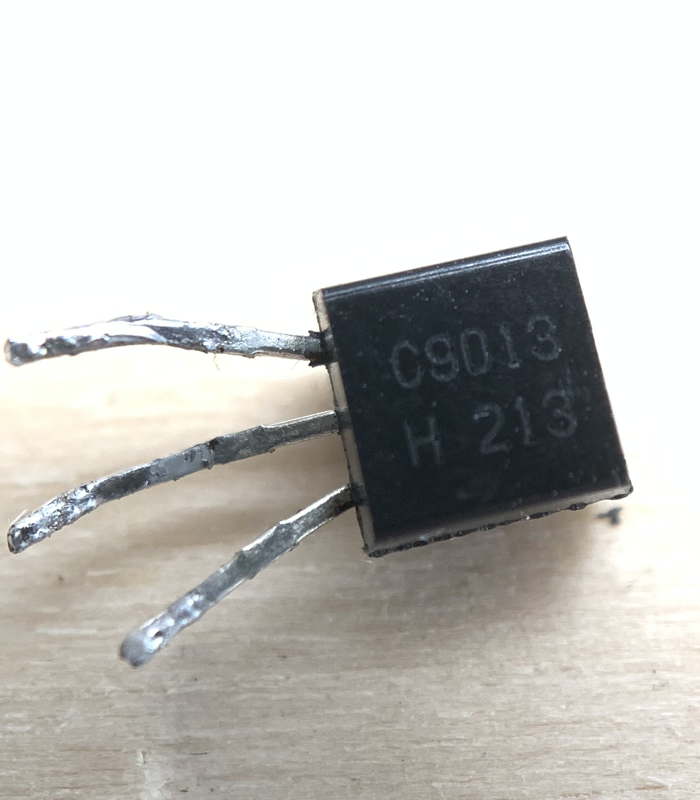
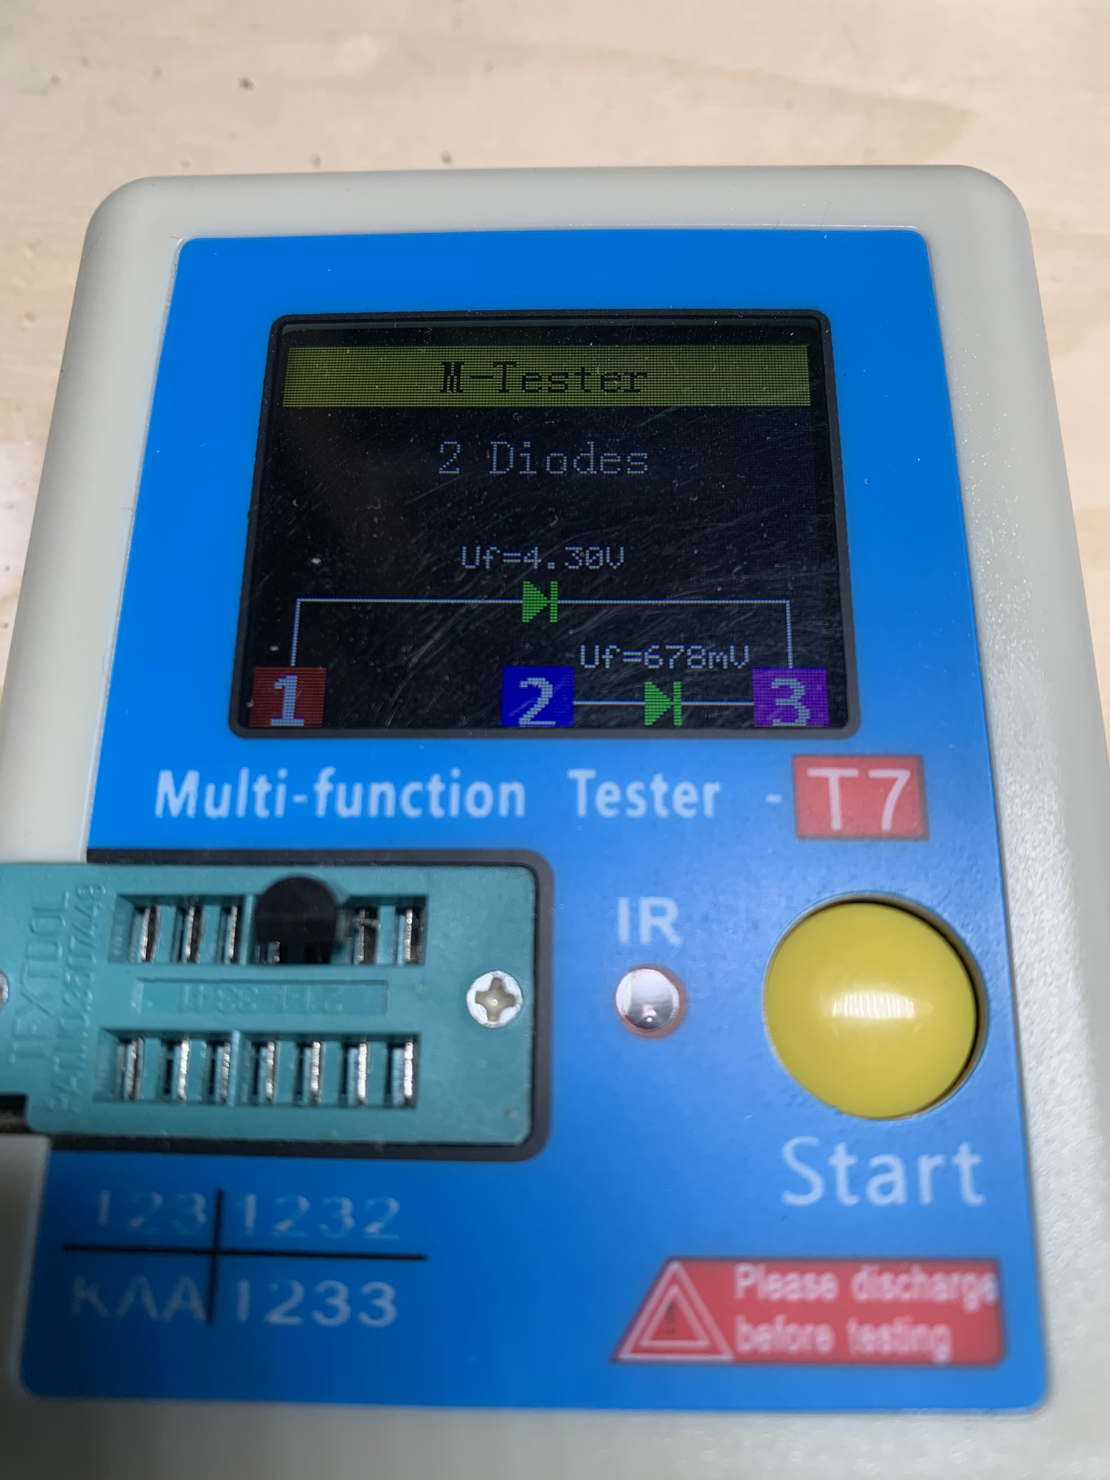
Of course, I checked the removed C9013 and confirmed that it wasn’t functioning as a Tr, just as ‘Master’ Jestine pointed out.
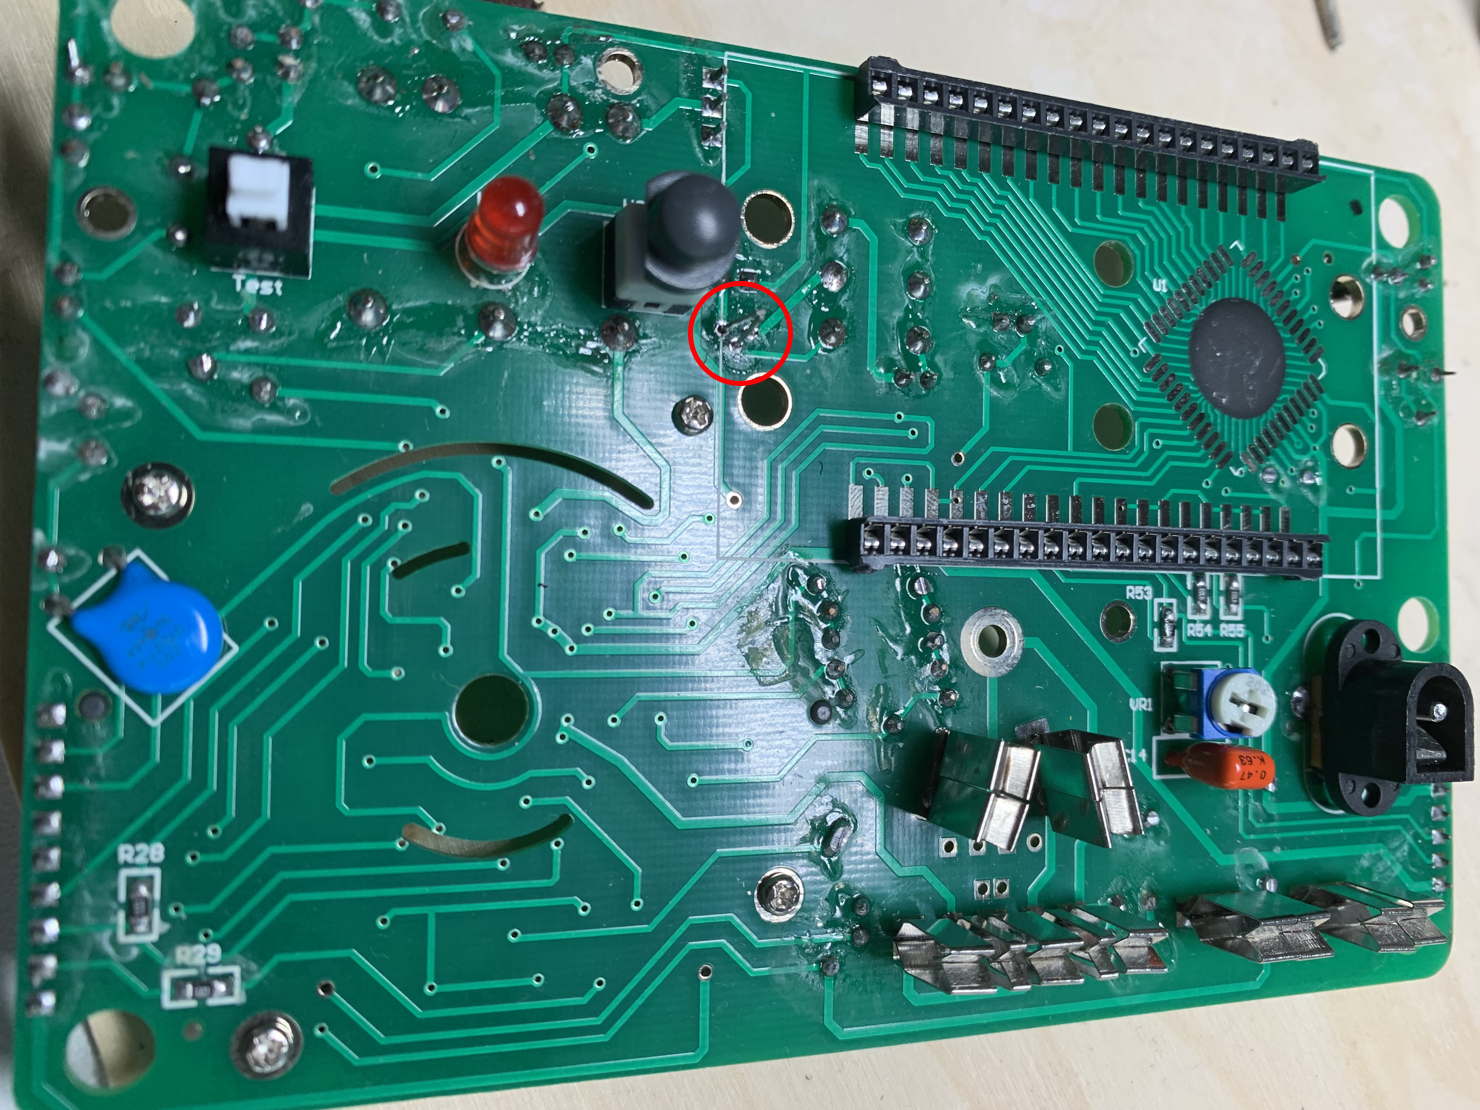
Here’s the photo before soldering the new C9013 from the back. The black round rubber on the right is the logic IC sealed. If it had died up to here, I would have been at a loss. I can’t imagine soldering so many pins to 1 mm pitch patterns.
When I assembled it and connected the power, oh! It came back perfectly!! By the way, this time the power adapter is 5V center-positive configuration. I tried various things, but it seems to work even with 5V. Did I really need to go out of my way to find a 6V power supply from the beginning?
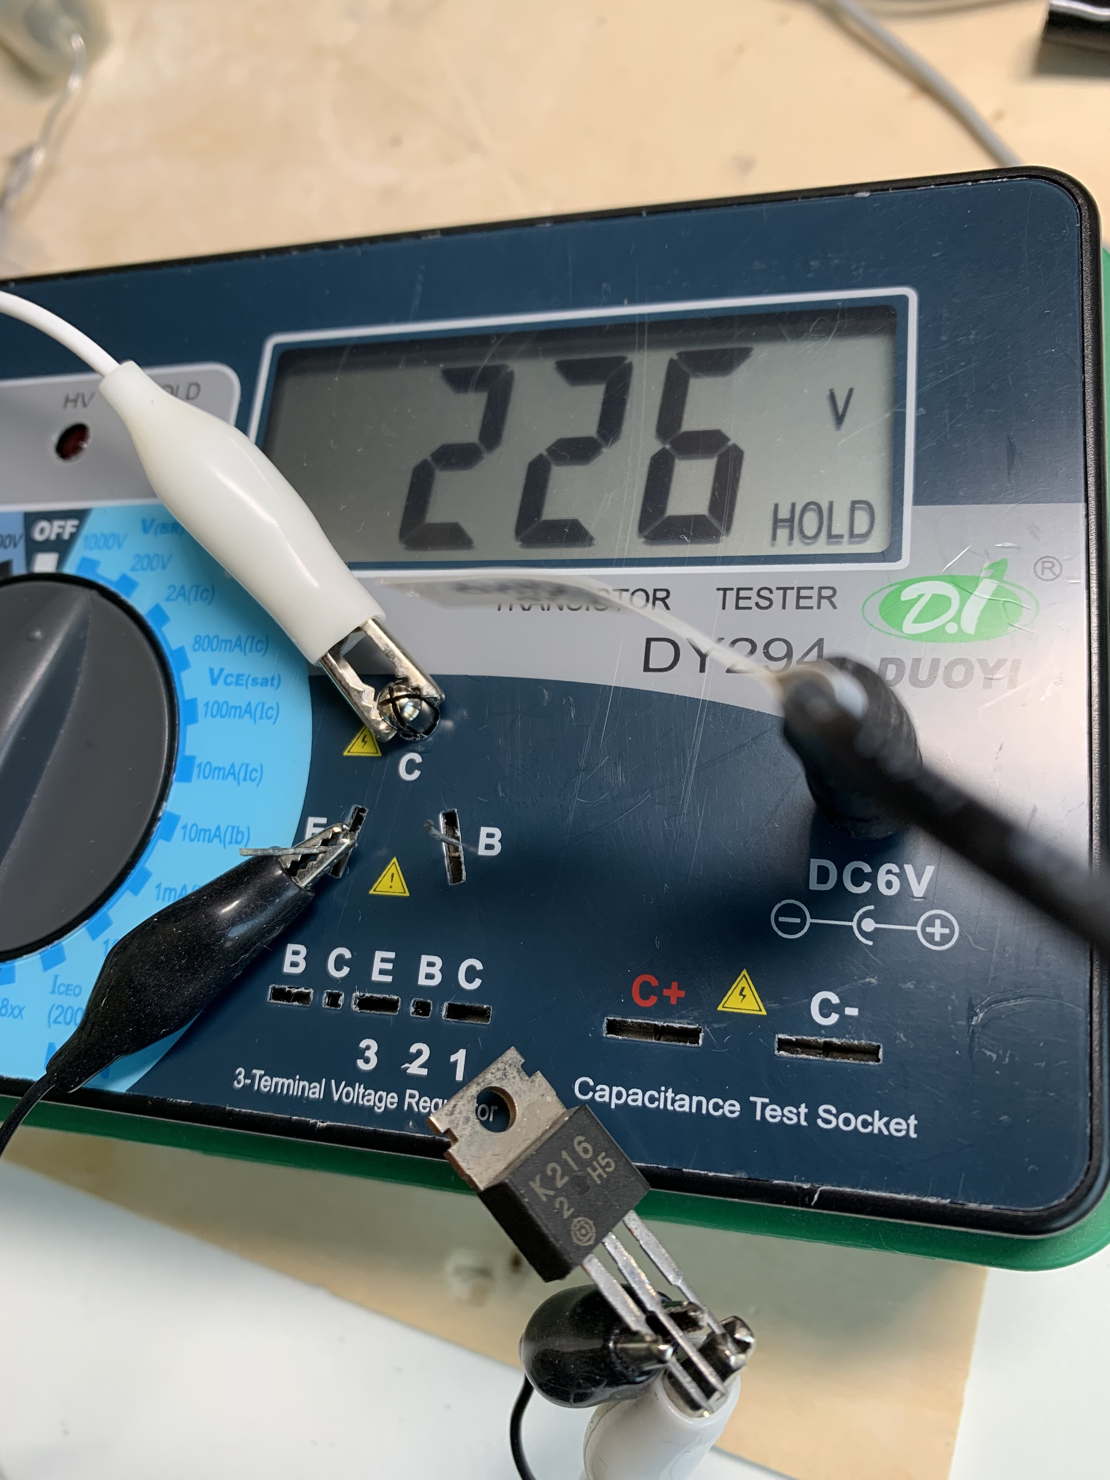
I measured the breakdown voltage of 2SK216 just to be sure, and it’s OK at 226V. I bought this rare FET in Japan, so it’s obviously genuine.
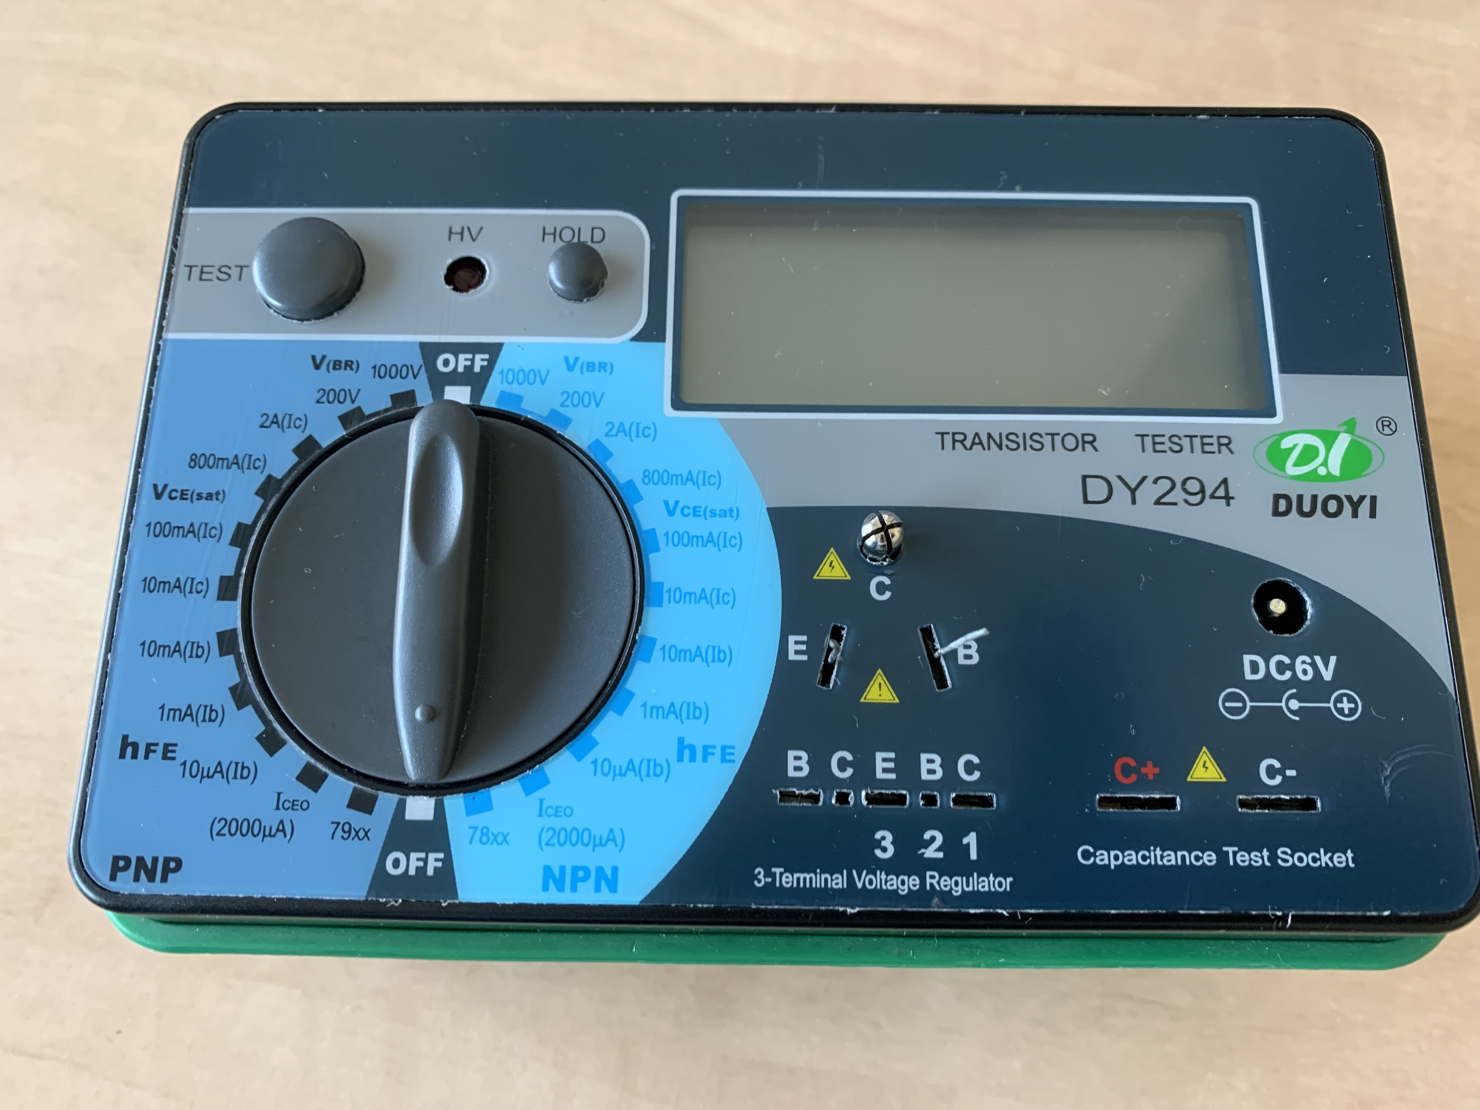
As a point to note, when you remove the board from the front panel of DY294, small electrodes under the dial comes off. Once it’s all taken apart, it becomes a puzzle to put it back in its original position, so be careful there. There’s a disassembly video on YouTube up to that point, so it’s a good idea to follow that for sure.

Comment